NightDrive Type X Hatch P.2

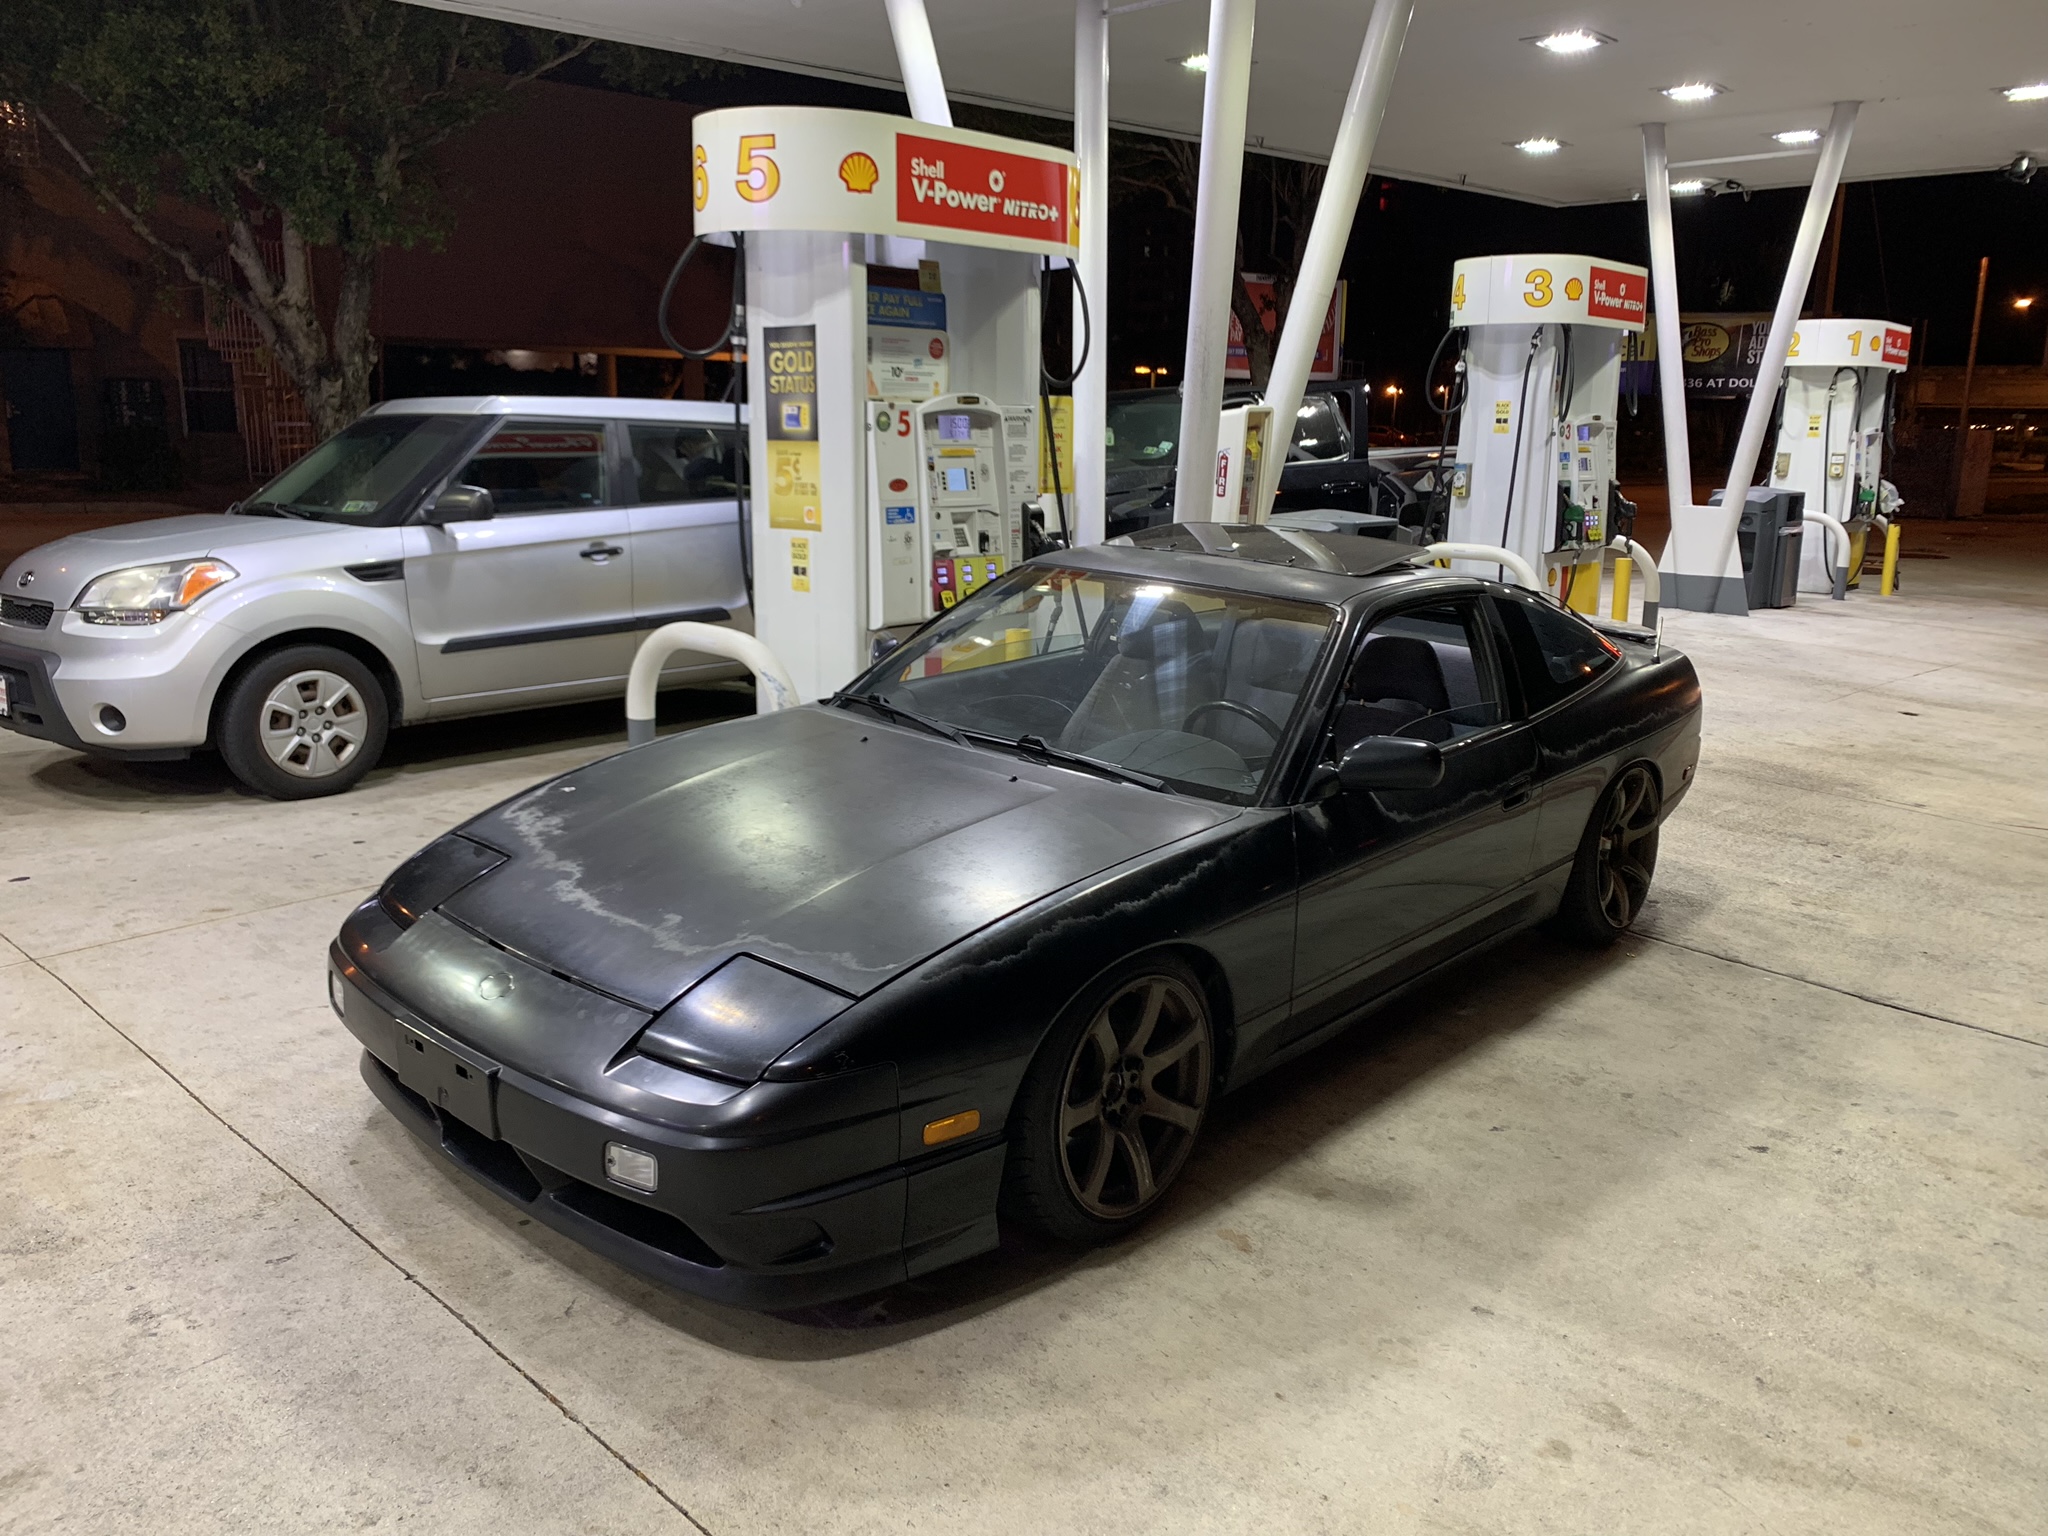
So, here were are in the second blog entry of this car’s build. Like I mentioned in my last post I didn’t take many photos of the trip, other than this one which was taken at a rest stop somewhere between Orlando & WPB. At this point we were almost home and very tired. Car was still 100% solid tho. Very grateful that we didn’t hit any major hiccups during the trip.
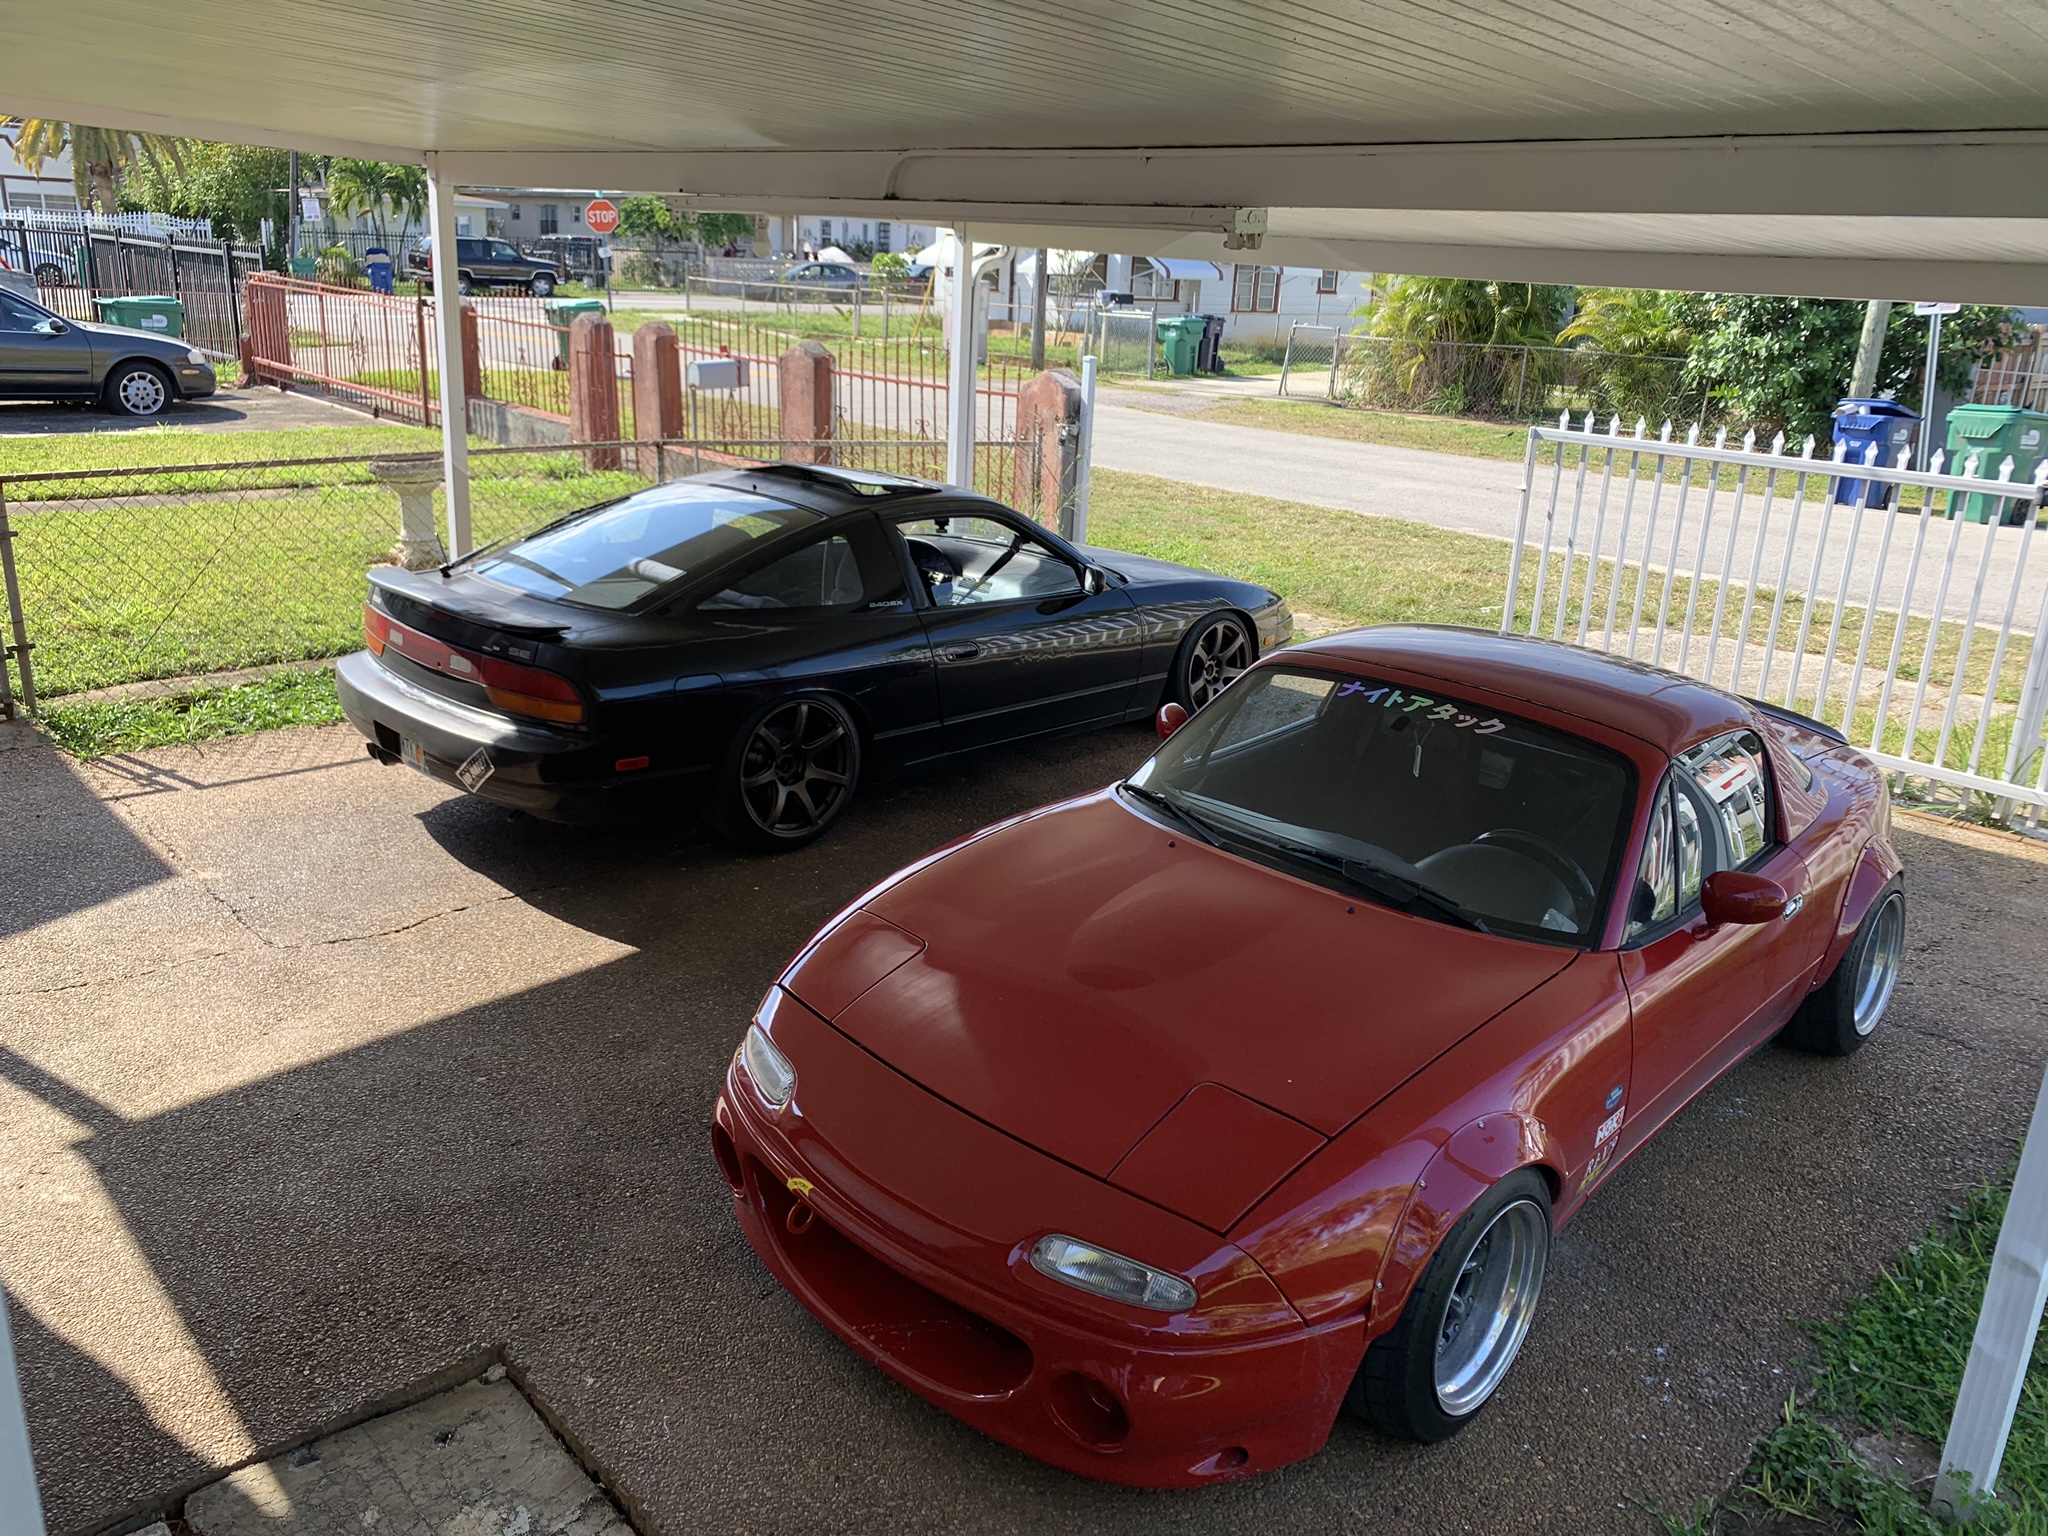
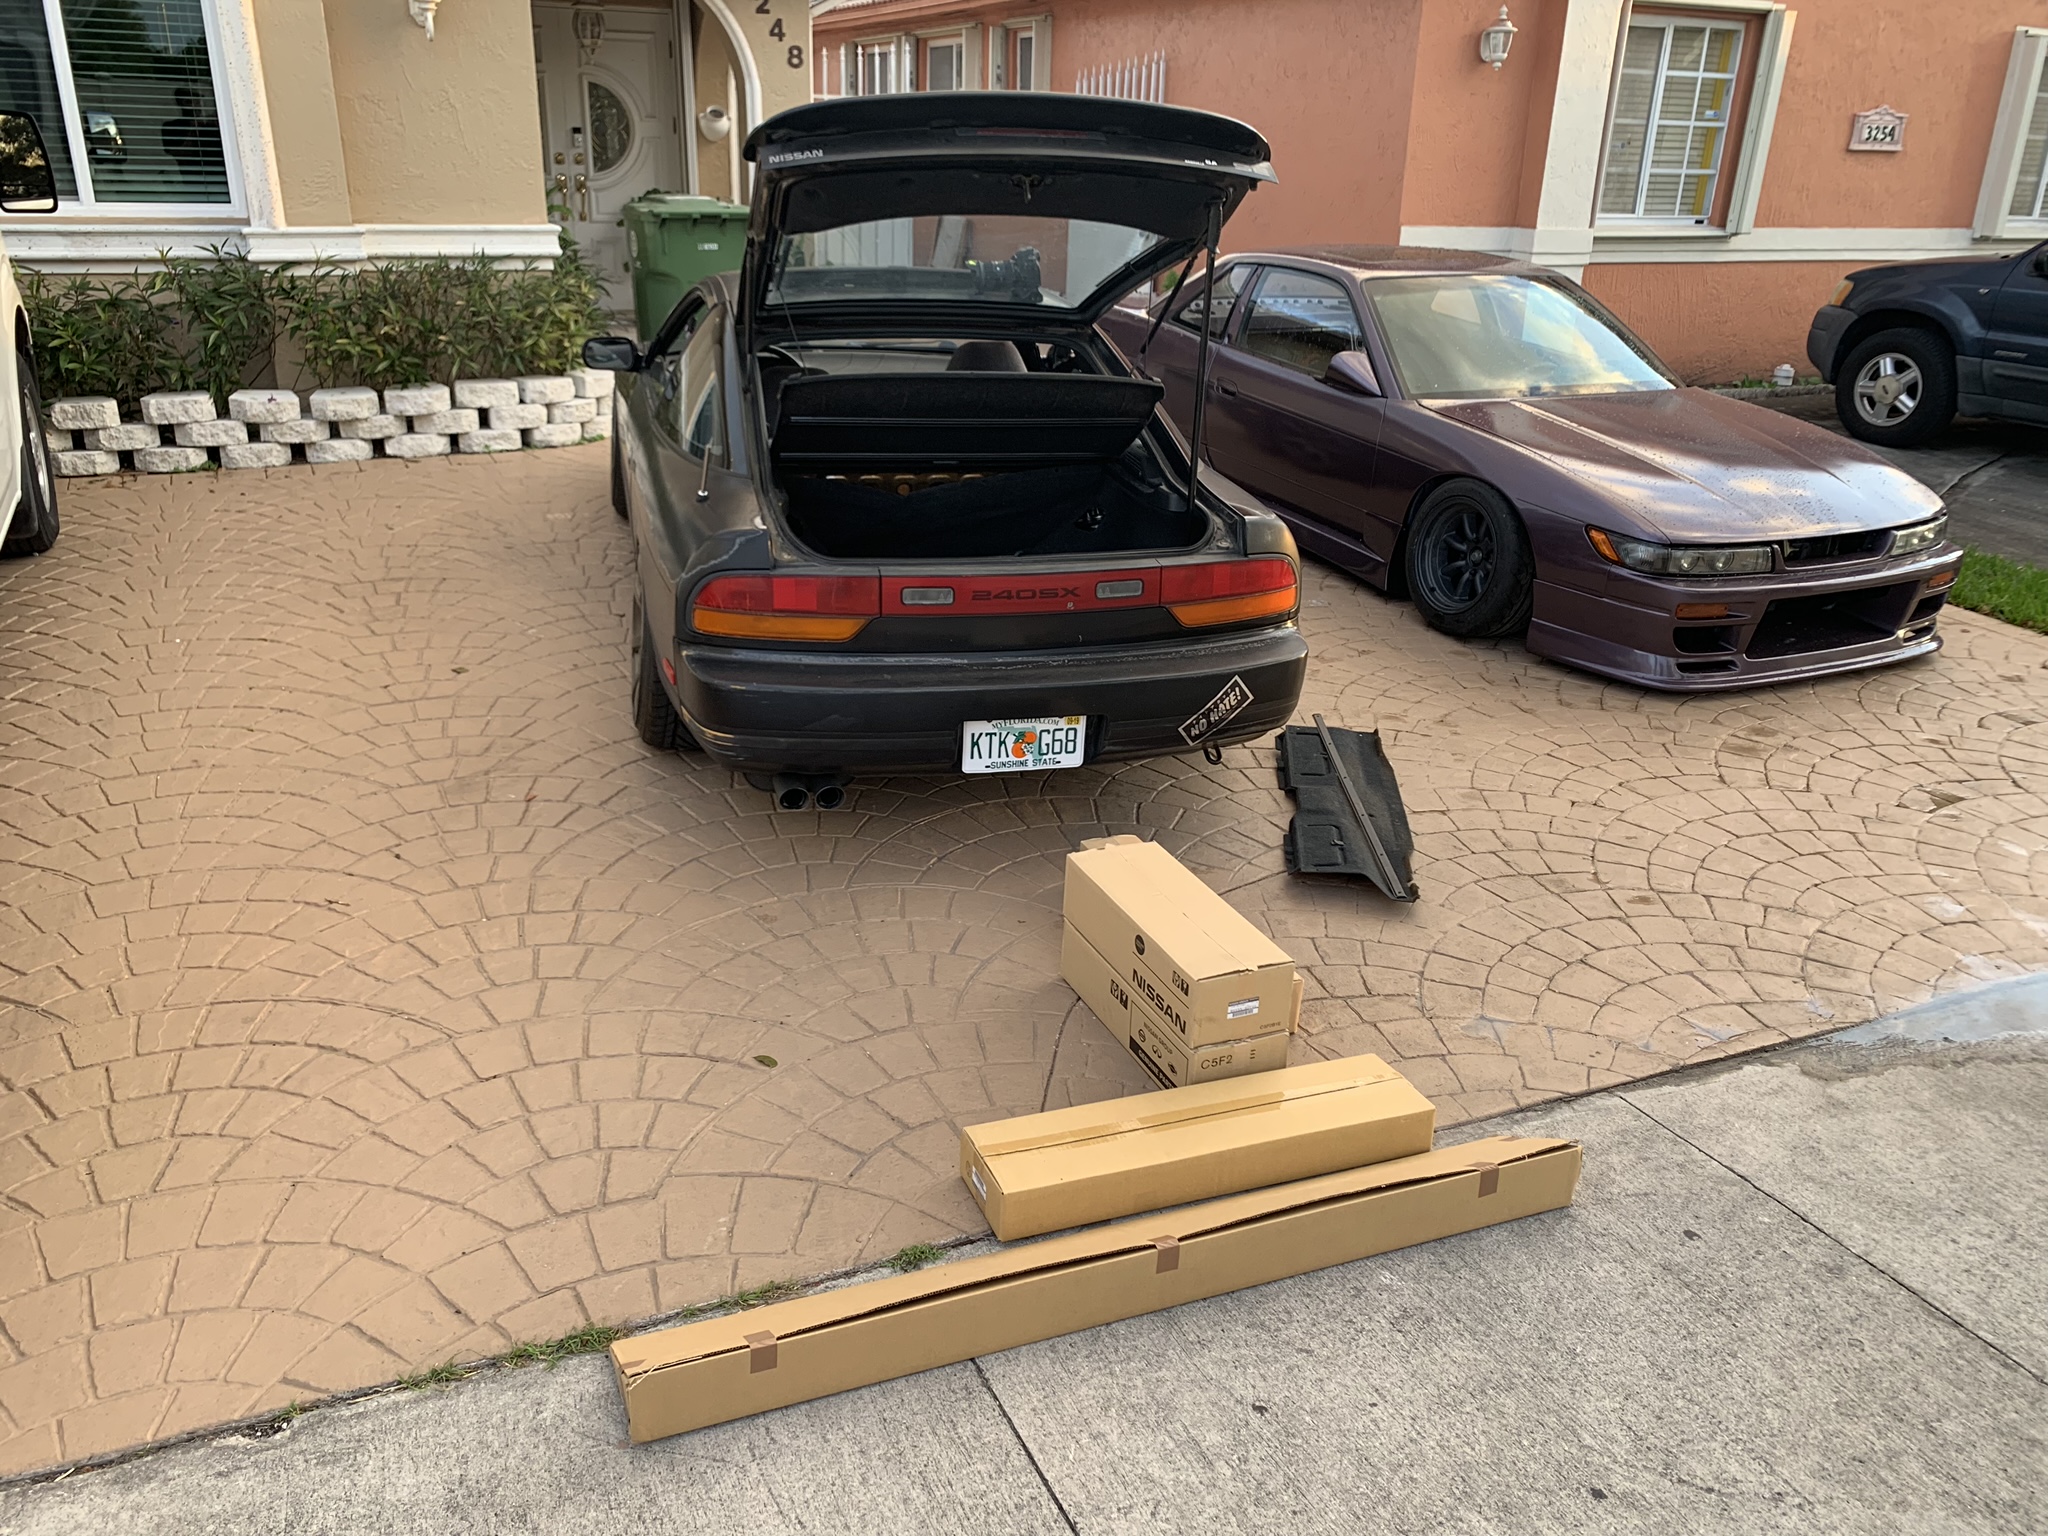
At home with those very distinguishable Miami-Dade County green trash bins and in the driveway next to my NA Miata (which is going for sale pretty soon).

I had some parts ready for the car at home, and first order of business were the tail lights. From the start this was going to be a Type X build, so nothing but a new Type X tail light kit would suffice. So I packed them up and headed to my homie Mark’s (@garage.emperor) place for the install.

This install is pretty much straightforward, remove your old tails and install the new ones. Back in my days, there were tons of Forum threads with how-to’s and all the parts needed, now with the new wave there’s tons of “YouTube Video” how-to’s. Basically you need both tails, the center garnish for the reverse tails, the lower metal garnish and if you’d like the RPS13 kevlar overlay. The plugs for these tails are different but there’s plug-n-play conversions over at www.nissanparts.cc Shout out to them for having all the JDM OEM Nissan goodness.


Ahhh changes the rear of the car COMPLETELY. Shout out to Nissan Designers for cooking this up back in 1996.
SIDE NOTE
My bestie, which happens to have the same name as me, Nelson came down from LA. He’s officially moving back to Miami now but at the time these photos were taken, he was still living out in LA. He also has a sick ass blog called Adult Vacation.
FUN FACT My gf, Adriana Maz is a graphic designer and she designed his logo.
He came down to visit and needed to change out his tension rods, after we finished we headed out to his mostest favoritest restaurant of everest, Denny’s, for their unbeatable dollar menu options.


Back to Type X Things

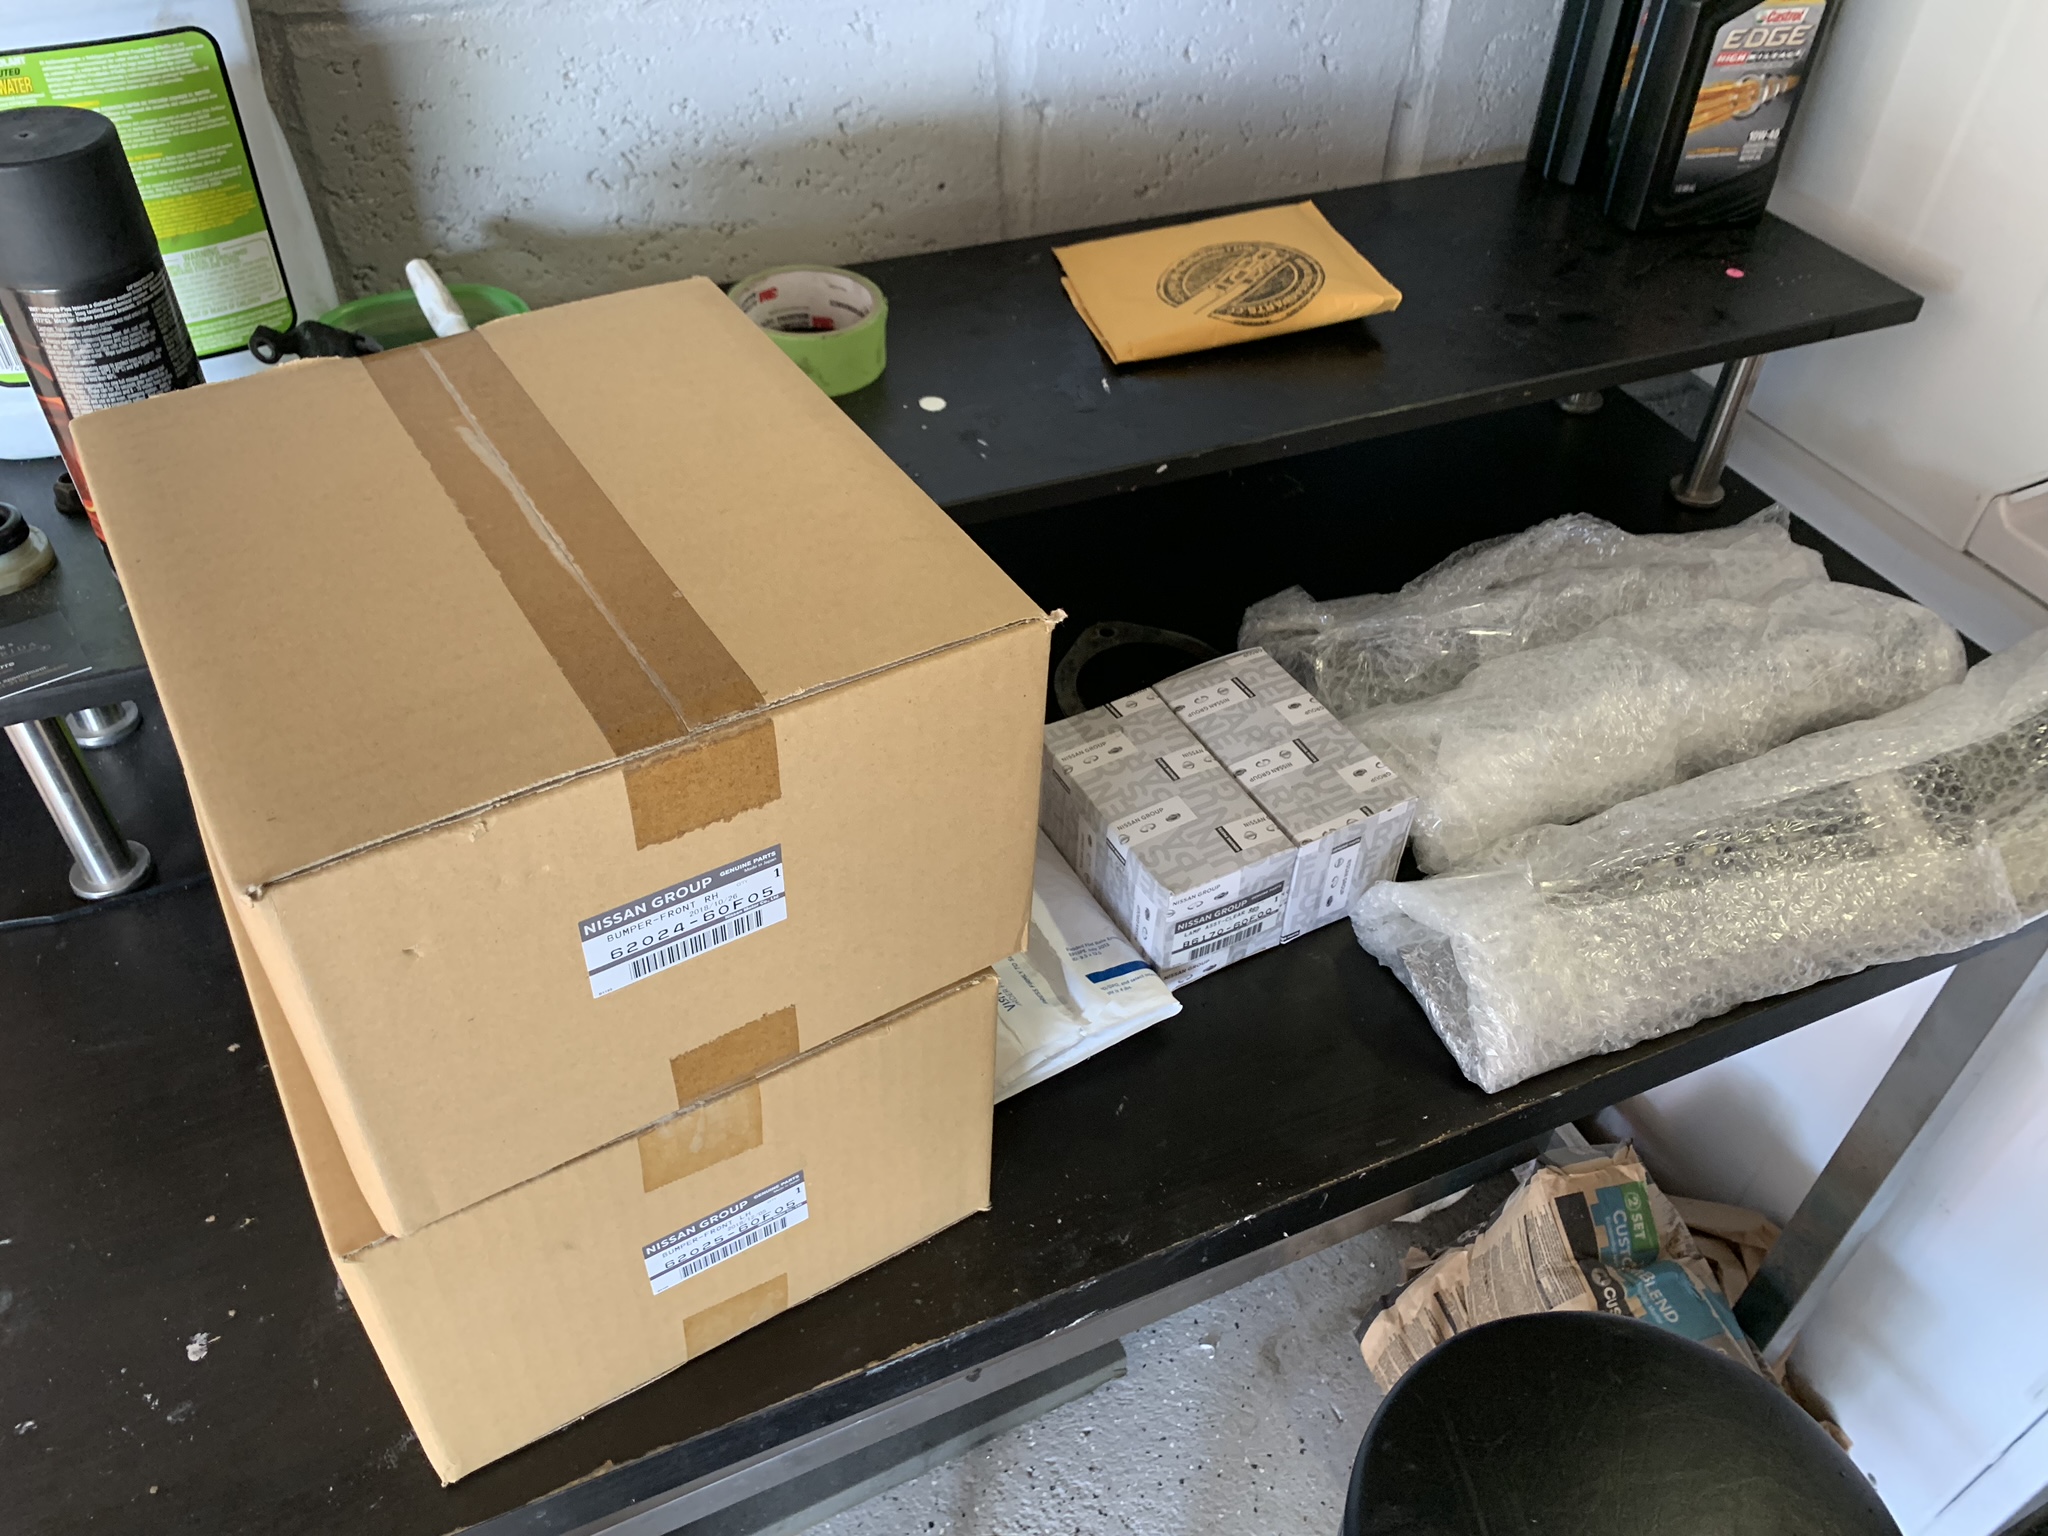

And we continue here, with the Type X front bumper and most of the brackets that are required. I didn’t get the ones that go on the side of the bumper where it meets the fender. So I had to modify those brackets so the bumper can fit nice and tight with no gaps.
Got it to fit pretty good, with zero gap. Not bad, not bad. For my Hispanic peeps, tabien tabien.
Ok, so we’ll leave it here this week and next time I’ll show you guys my short experience with an aero copier that shall remain nameless because I wouldn’t want to mess up anyone’s hustle.
See you next week!
NGTDRV